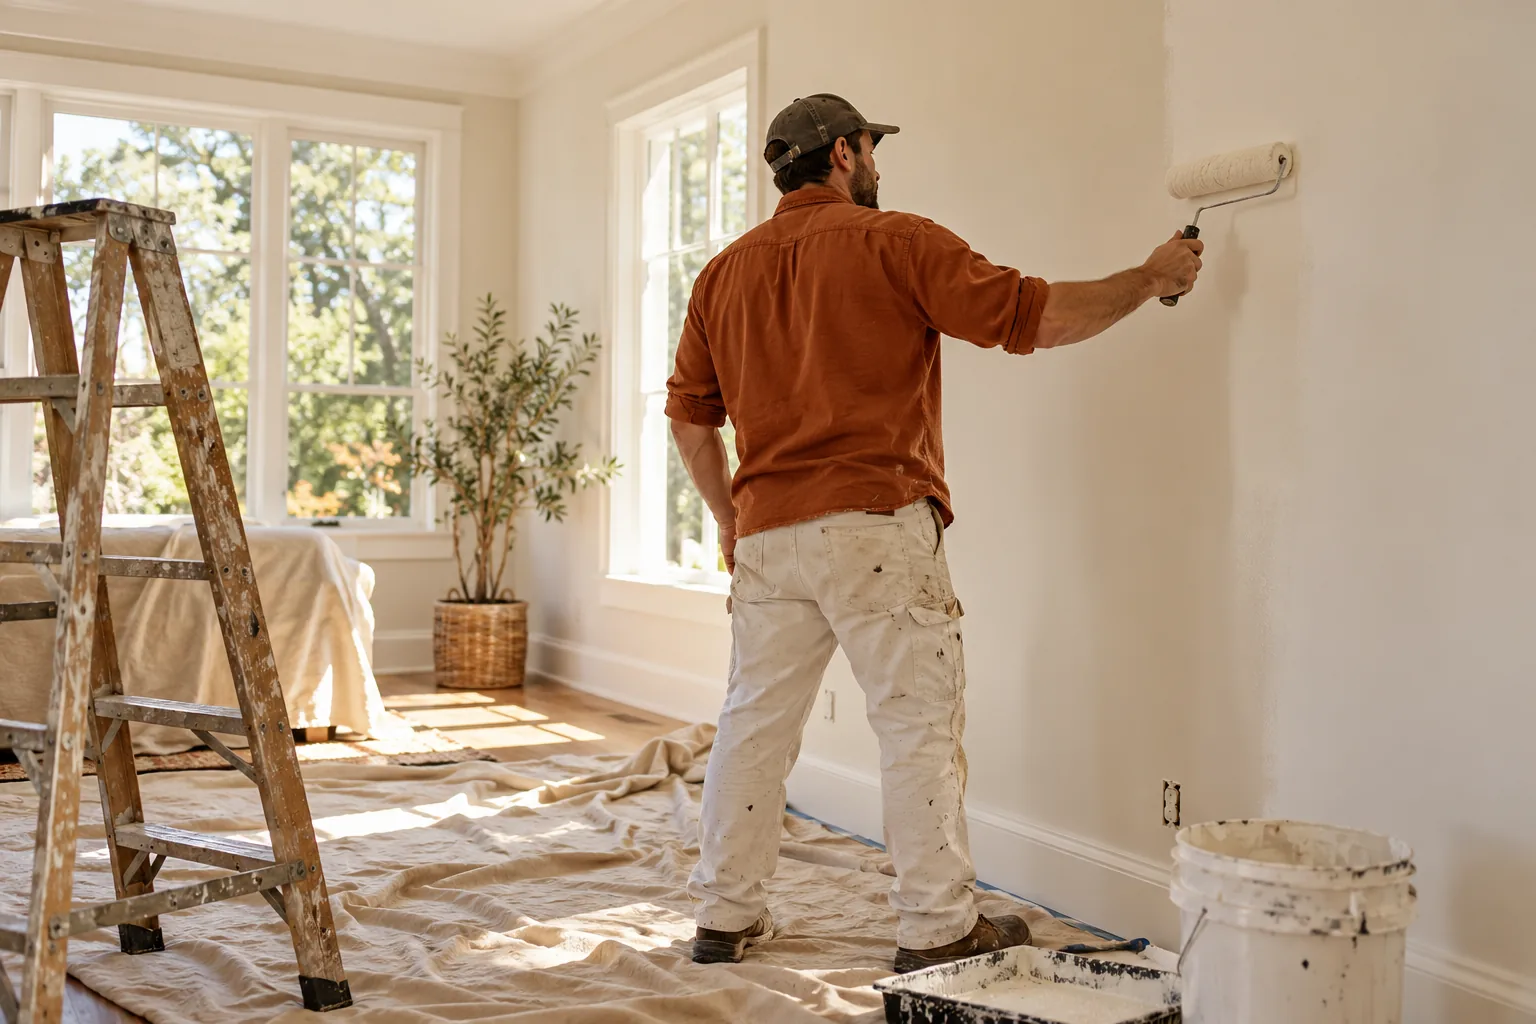
“Paint the spare room” can mean a straightforward colour change or several quite different repair jobs. A greasy wall, torn wallpaper backing, old patches, and an unknown coating do not become the same surface just because the finish colour is the same. Before comparing quotes, agree on what will make the walls ready.
Start with the surface’s history
For older or uncertain coatings, check the hazard question before sanding or scraping. Health Canada explains that older Canadian homes may contain lead-based paint and that disturbing it can release harmful material. Its guidance describes laboratory analysis and specialist detection as ways to investigate. Do not assume a newer topcoat proves the layers underneath are safe to disturb. [3]
Once the surface is appropriate to work on, walk the room in daylight. Mark what you want addressed: nail holes, old repair edges, peeling areas, adhesive, and trim damage. A photograph of each issue is more useful than asking for “a perfect finish” without defining the starting condition.
Clean first, then decide what needs repair
Benjamin Moore’s preparation guidance puts cleaning before the coating. It recommends removing dirt and, where relevant, grease, rinsing cleaning residue, and allowing the surface to dry thoroughly. It also identifies smoothing uneven areas and removing the resulting dust as part of preparation where needed. [1]
That matters when you describe the work. “Two coats” says very little about what happens to the old cooking residue behind a table or the ridge around an earlier patch. Ask whether cleaning, patching, smoothing, and dust removal are included, and which defects will remain visible.
Primer is a surface decision
A wall exposed by wallpaper removal may need a different treatment from an intact painted wall. Sherwin-Williams specifically discusses damaged drywall facing after wallpaper removal and the use of a suitable conditioner before subsequent finishing. That is a reason to identify the substrate and select a compatible preparation system, rather than treating every problem with another coat of finish paint. [2]
Ask for the proposed primer or conditioner by name and the reason it is needed. A good answer ties the product to the surface you have, rather than promising that a more expensive paint will hide everything.
Make the timetable product-specific
Sherwin-Williams also notes that application conditions and drying depend on the product and environment, and directs readers to product labels and data pages. Use those instructions for application and waiting periods instead of assuming every coating can be recoated on the same schedule. [2]
- Define the walls, ceilings, trim, and doors included.
- List cleaning and repairs separately from finish coats.
- Confirm how floors, furniture, and adjoining surfaces will be protected.
- Record the coating system, finish, and colour.
- Agree on when the room can be put back into normal use.
A clear preparation scope makes two painting proposals much easier to compare. It also gives the finished room a fair standard to be checked against.